How to Screenshot on Mac: A Detailed Guide

Taking screenshots is a non-negotiable skill in today’s digital age. Whether you’re a student compiling references, a professional saving important instructions, or someone who just saw a hilarious meme, knowing how to capture your screen quickly and efficiently on a Mac can save you time and frustration. While Windows users have their snipping tool and Print Screen key, Apple has baked in flexible screenshot functions that you can master without extra software. This article, shaped for anyone beyond a beginner but not quite a power user, will walk you through all the main screenshot methods on macOS, provide troubleshooting tips, and touch on customization and usage best practices.
Why Screenshotting Matters
Screenshots are more than just images of your screen. They are moments of proof, instructions for later, records of payment, and shareable story elements. In professional settings, they can clarify communications with colleagues, illustrate bugs to tech support, or provide receipts for digital purchases. Mac offers a suite of options to capture your entire screen, a portion, or even specific windows, ensuring you’re never caught out when needing to save or share information quickly and visually.
The Primary Screenshot Shortcuts
macOS offers three built-in keyboard shortcuts for screenshots. Let’s break them down:
1. Capture the Entire Screen: Command + Shift + 3
This is the quickest way to snap everything on your display. Simply press these three keys at the same time, and you’ll hear a confirmation sound (if your sound is enabled)—your screenshot will appear as a new PNG file on your desktop (unless customized).

When to use:
-
You want to document the entire desktop
-
Saving an image for technical support
-
Preserving a full webpage or application window
Drawback:
-
It captures everything, including possibly cluttered desktop icons or notification banners you may not want.
2. Capture a Selected Portion: Command + Shift + 4
This shortcut turns your cursor into a crosshair. Click and drag to select precisely the area you want to capture. When you release the mouse/trackpad, the screenshot is taken of that defined region.
Pro tip:
-
If you start dragging and then hold the
Spacebar, you can reposition your selection square before releasing the mouse. -
Holding down
Shiftwhile dragging locks either the vertical or horizontal movement, useful for perfect lines.
When to use:
-
Highlighting error messages
-
Capturing just part of a webpage or interesting stats
-
Saving images from documents or slides
3. Capture a Window or Menu: Command + Shift + 4, then Spacebar
After you hit Command + Shift + 4, press the Spacebar. Your cursor turns into a camera icon, and any window or menu you hover over gets highlighted. Click your mouse to capture just that window, with a subtle drop shadow by default.
When to use:
-
Creating tutorials
-
Documenting application bugs
-
Focusing attention on one open window and hiding desktop clutter
Customizing:
-
Hold
Option(orAlt) while clicking to remove the window shadow for a cleaner image.
Screenshot Management: Where Do Files Go?
By default, screenshots land on your desktop with filenames showing the date and time. On macOS Mojave (10.14) and later, you can change the save location—a significant quality-of-life upgrade for anyone who takes lots of screenshots. Use the built-in Screenshot app (see “Advanced Features” below), or set up automation using the Terminal if needed.
Changing the save location:
-
Press
Command+Shift+5to bring up the Screenshot toolbar. -
Click “Options” in the floating control bar.
-
Under “Save to,” pick from Desktop, Documents, Clipboard, Mail, Messages, Preview, or set a custom folder.
-
The app remembers your choice until you change it.
Using the Screenshot Toolbar (Command + Shift + 5)
With macOS Mojave and newer, Apple introduced a screenshot toolbar. This floating panel provides buttons for screen, window, portion, and even video (screen recording) capture.
You can:
-
Capture the entire screen, a selected window, or a selected portion.
-
Record your screen (entirely or in a portion).
-
Access options to set a timer, select save locations, and choose whether to show the mouse pointer.
The toolbar is especially useful when you need multiple screenshots in sequence with specific options or if you’re teaching someone less comfortable with keyboard shortcuts. Since it persists until closed, it’s ideal for complex tasks like multi-step documentation.
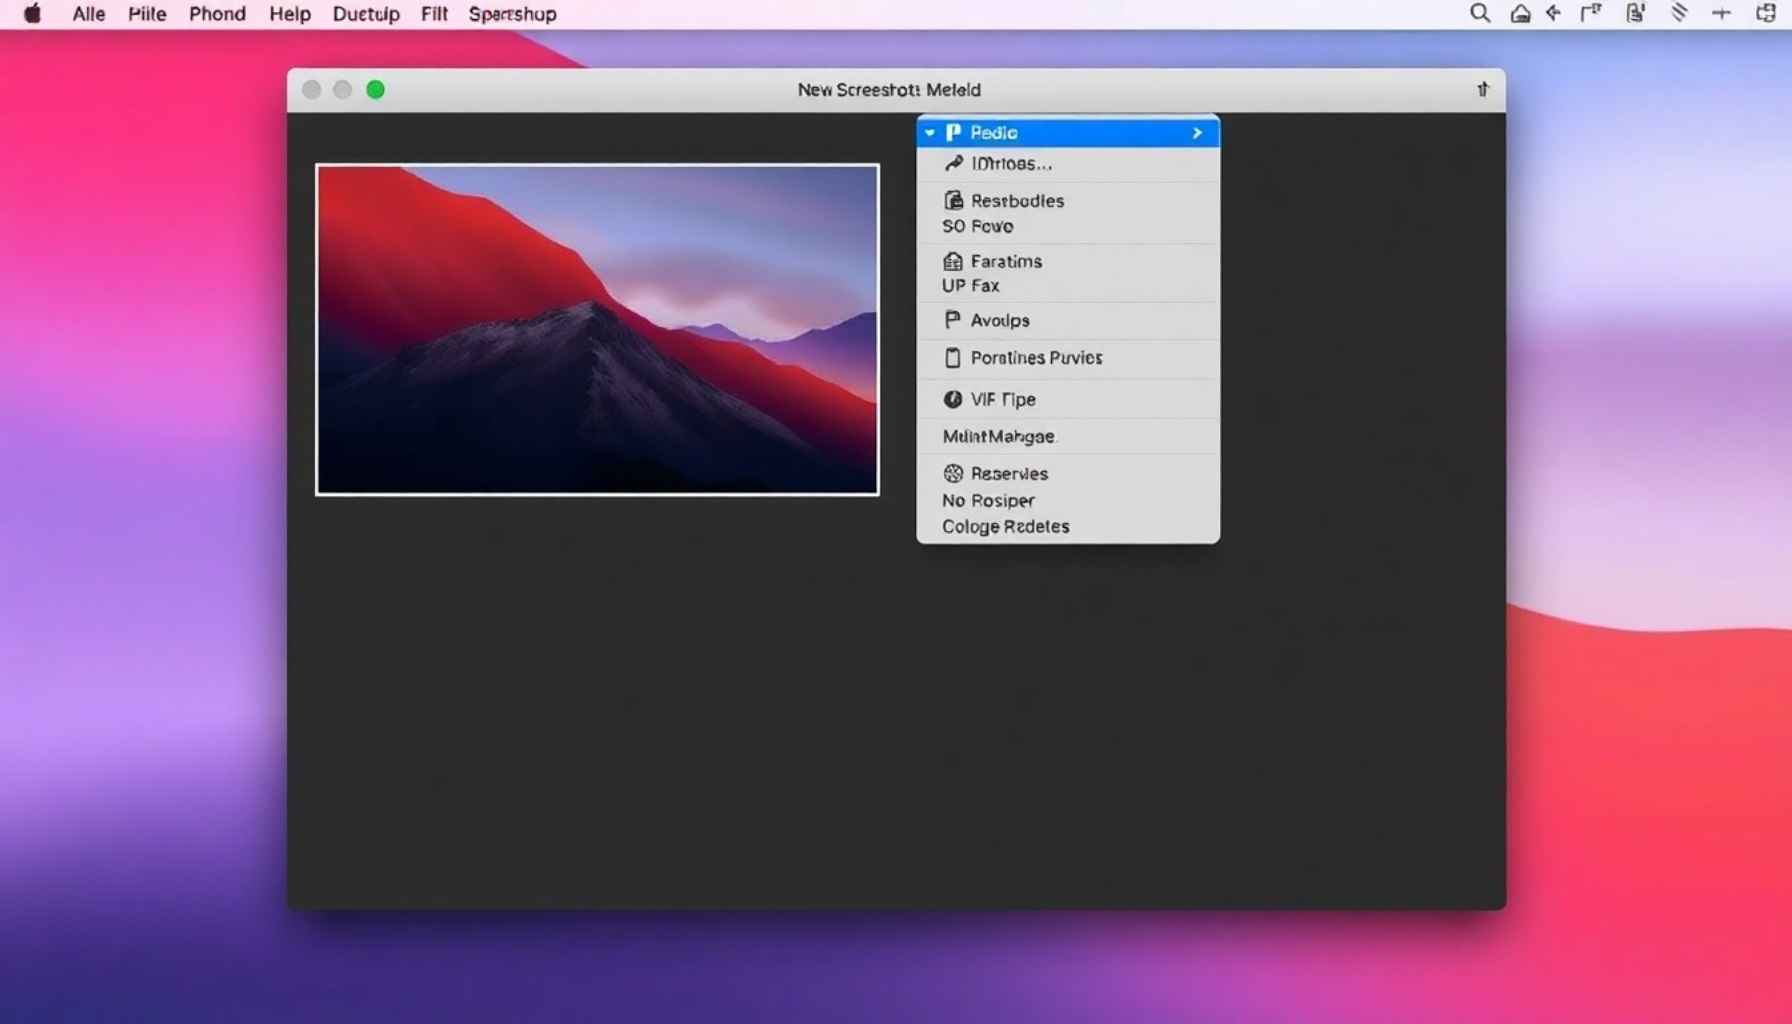
Editing and Marking Up Screenshots Instantly
Once you’ve taken a screenshot, macOS displays a little thumbnail at the bottom-right of your screen (macOS Mojave and later). Click it before it disappears to open Markup mode, where you can
-
Draw, highlight, and annotate
-
Add text, shapes, or a signature
-
Crop or rotate
This is invaluable for providing feedback, explaining processes, obscuring sensitive info, or just adding a personal touch to what you captured.
Tip: If you don’t want the floating thumbnail, open the Screenshot toolbar, go to “Options,” and uncheck “Show Floating Thumbnail.”
Clipboard and Drag-and-Drop Usage
Screenshots can be copied to the clipboard instantly by holding Control while using any screenshot shortcut.
-
Command+Control+Shift+3copies the entire screen to the clipboard -
Command+Control+Shift+4copies your selection -
From here, just press
Command+Vin any compatible app (Mail, Messages, Word, etc.)
No more dragging files off your desktop first—useful for quick email/Slack sharing or when working with cloud-based apps.
Taking Screenshots on External Displays
If you use multiple monitors, screenshots work seamlessly on each one:
-
Command+ + +Shift3: Separate PNGs for each display. -
Command+Shift+4: Crosshair launches on the screen where your mouse is. -
Windows mode:
SpacebarHover and select the window you want across monitors.
Troubleshooting Common Screenshot Issues
Problem: Screenshots are not appearing on the desktop.
-
Check if you recently changed the save location in the Screenshot toolbar.
-
Open “Options” in
Command+Shift+5to confirm your current folder. -
If needed, search Finder by typing “Screenshot” in the search bar.
Problem: Screenshot shortcuts don’t work.
-
Go to System Settings → Keyboard → Keyboard Shortcuts → Screenshots. Make sure all are enabled and not conflicting with custom shortcuts.
-
Restart your Mac if stuck, or refresh the keyboard by unplugging external boards.
Problem: Screenshots look blurry in certain apps.
-
Try saving in a different format, or use Preview to export as JPEG/PNG at higher quality.
-
Some websites (especially streaming services or sensitive banking apps) deliberately disable screenshots for privacy.
Customizing Screenshot File Format and Naming
By default, macOS saves screenshots as PNG files, but you can change this using the Terminal for advanced customization (not recommended for beginners).
Bonus: Useful Third-Party Apps (If Built-in Tools Aren’t Enough)
Some users need more than macOS’ built-ins. Here are two reputable apps:
| App | Main Features | Cost |
|---|---|---|
| Snagit | Advanced editing, video, scrolling capture | Paid |
| CleanShot X | Cloud sharing, annotations, OCR, cleaner UI | Paid |
But for day-to-day use, the built-in screenshot features on Mac should suffice.
Recap: Mac Screenshot Shortcuts Table
| Shortcut | Description | Output Location |
|---|---|---|
| Command + Shift + 3 | Full screen | Desktop/selected folder |
| Command + Shift + 4 | Select area with crosshair | Desktop/selected folder |
| Command + Shift + 4, then Spacebar | Chosen window | Desktop/selected folder |
| Command + Shift + 5 | Opens Screenshot toolbar | Custom |
| Add Control to any above | Save to clipboard (not file) | Clipboard |
Best Practices for Effortless Screenshotting
-
Set a dedicated folder for your screenshots to keep your desktop tidy.
-
Use Markup to clarify or hide sensitive information before sharing.
-
Use file naming conventions for easy searching (date, subject, project).
-
Regularly clear out old screenshots to save space.
Closing Thoughts
Mastering screenshot shortcuts on a Mac is about more than just memorizing key combinations. It’s about integrating these tools into your digital workflow so you can capture, communicate, and share information with speed and clarity. Whether you’re summarizing an online lecture, documenting software bugs, or sharing something funny, macOS equips you with simple-yet-powerful screenshot options that—once you know them—quickly become second nature.
With screen captures only a shortcut away, you’re ready to work more efficiently and communicate better, all without the clutter or confusion of old-school print screen methods. Happy snapping!
Mac Screenshot FAQs
1. What are the main keyboard shortcuts to take screenshots on a Mac?
-
Shift + Command + 3: Captures the entire screen.
-
Shift + Command + 4: Lets you select a portion of the screen to capture.
-
Shift + Command + 4 + Spacebar: Captures a specific window or menu.
-
Shift + Command + 5: Opens the Screenshot toolbar for advanced options.
-
Shift + Command + 6: Captures the Touch Bar on MacBook Pros that have one123.
2. Where do Mac screenshots get saved?
By default, screenshots are saved as PNG files on the desktop with a filename like “Screenshot [date] at [time].png.” However, you can change the save location via the Screenshot toolbar (Shift + Command + 5) by clicking Options and selecting a new save folder or even copying the screenshot directly to the clipboard12.
3. How can I copy a screenshot directly to the clipboard instead of saving it?
Hold the Control key along with any screenshot shortcut. For example, Control + Shift + Command + 3 copies the entire screen to the clipboard, and you can then paste it directly into documents or chat apps with Command + V36.
4. Can I edit or annotate screenshots right after taking them?
Yes. After you take a screenshot, a thumbnail preview appears at the bottom-right corner of the screen (on macOS Mojave and later). Clicking it opens a Markup editor where you can add text, shapes, draw, crop, or highlight before saving or sharing25.
5. What is the Screenshot toolbar, and why should I use it?
The Screenshot toolbar (Shift + Command + 5) provides a visual interface for choosing between capturing the entire screen, a window, or a selected area. It also offers screen recording features, timer settings, pointer visibility toggles, and options to change the save location. It’s ideal for users who want more control or prefer an on-screen menu instead of remembering shortcuts256.
6. How do I take a screenshot of the Touch Bar?
If your MacBook Pro has a Touch Bar, press Shift + Command + 6 to capture exactly what is shown on it. This function is exclusive to Touch Bar-equipped Macs13.
7. Can I capture screenshots on multiple monitors?
Yes. If you have multiple displays, Shift + Command + 3 will capture all screens, saving separate screenshot files for each monitor. The Shift + Command + 4 crosshair appears on the current active screen where your mouse is located6.
8. How do I disable or remove the drop shadow around window screenshots?
By default, screenshots of windows come with a subtle drop shadow. To remove it, you need to run a Terminal command: